Make your own ceramic olive pit dish using clay slabs. This downloadable PDF project guide includes printable pottery templates and step-by-step instructions for a two-part dish. Olives sit in the upper dish, and the pits drop through the center into a cone hidden underneath, so the table stays clean and the snack keeps going.
Designed for makers with some slab-building experience, the guide builds both parts from four flat template pieces, with no molds to make. Glaze it green with a red center and it looks like a pimento-stuffed olive. You should be comfortable joining slabs and blending seams, and you will need access to a kiln.
The 13-page PDF guide includes:
• A detailed list of project materials and tools.
• Instructions for printing the templates.
• 23 step-by-step instructions for building the lower cone and the upper dish, then fitting, drying, firing and glazing them.
• Troubleshooting tips for slumping walls, cracks, a distorting base and a dish that wobbles.
• The clay body and glazes I used, plus food-safety notes.
• 5 pages of templates for cutting the 4 slab pieces.
You will receive a download link immediately after purchase. The PDF is formatted for printing on US Letter paper.
This is a digital download. No finished ceramics or physical materials are included.
Coming Soon: the Dirty Dishes Project Kit. Buy this guide before kit preorders open and you'll get a code for $15 off the kit during preorders!
Make your own ceramic olive pit dish using clay slabs. This downloadable PDF project guide includes printable pottery templates and step-by-step instructions for a two-part dish. Olives sit in the upper dish, and the pits drop through the center into a cone hidden underneath, so the table stays clean and the snack keeps going.
Designed for makers with some slab-building experience, the guide builds both parts from four flat template pieces, with no molds to make. Glaze it green with a red center and it looks like a pimento-stuffed olive. You should be comfortable joining slabs and blending seams, and you will need access to a kiln.
The 13-page PDF guide includes:
• A detailed list of project materials and tools.
• Instructions for printing the templates.
• 23 step-by-step instructions for building the lower cone and the upper dish, then fitting, drying, firing and glazing them.
• Troubleshooting tips for slumping walls, cracks, a distorting base and a dish that wobbles.
• The clay body and glazes I used, plus food-safety notes.
• 5 pages of templates for cutting the 4 slab pieces.
You will receive a download link immediately after purchase. The PDF is formatted for printing on US Letter paper.
This is a digital download. No finished ceramics or physical materials are included.
Coming Soon: the Dirty Dishes Project Kit. Buy this guide before kit preorders open and you'll get a code for $15 off the kit during preorders!

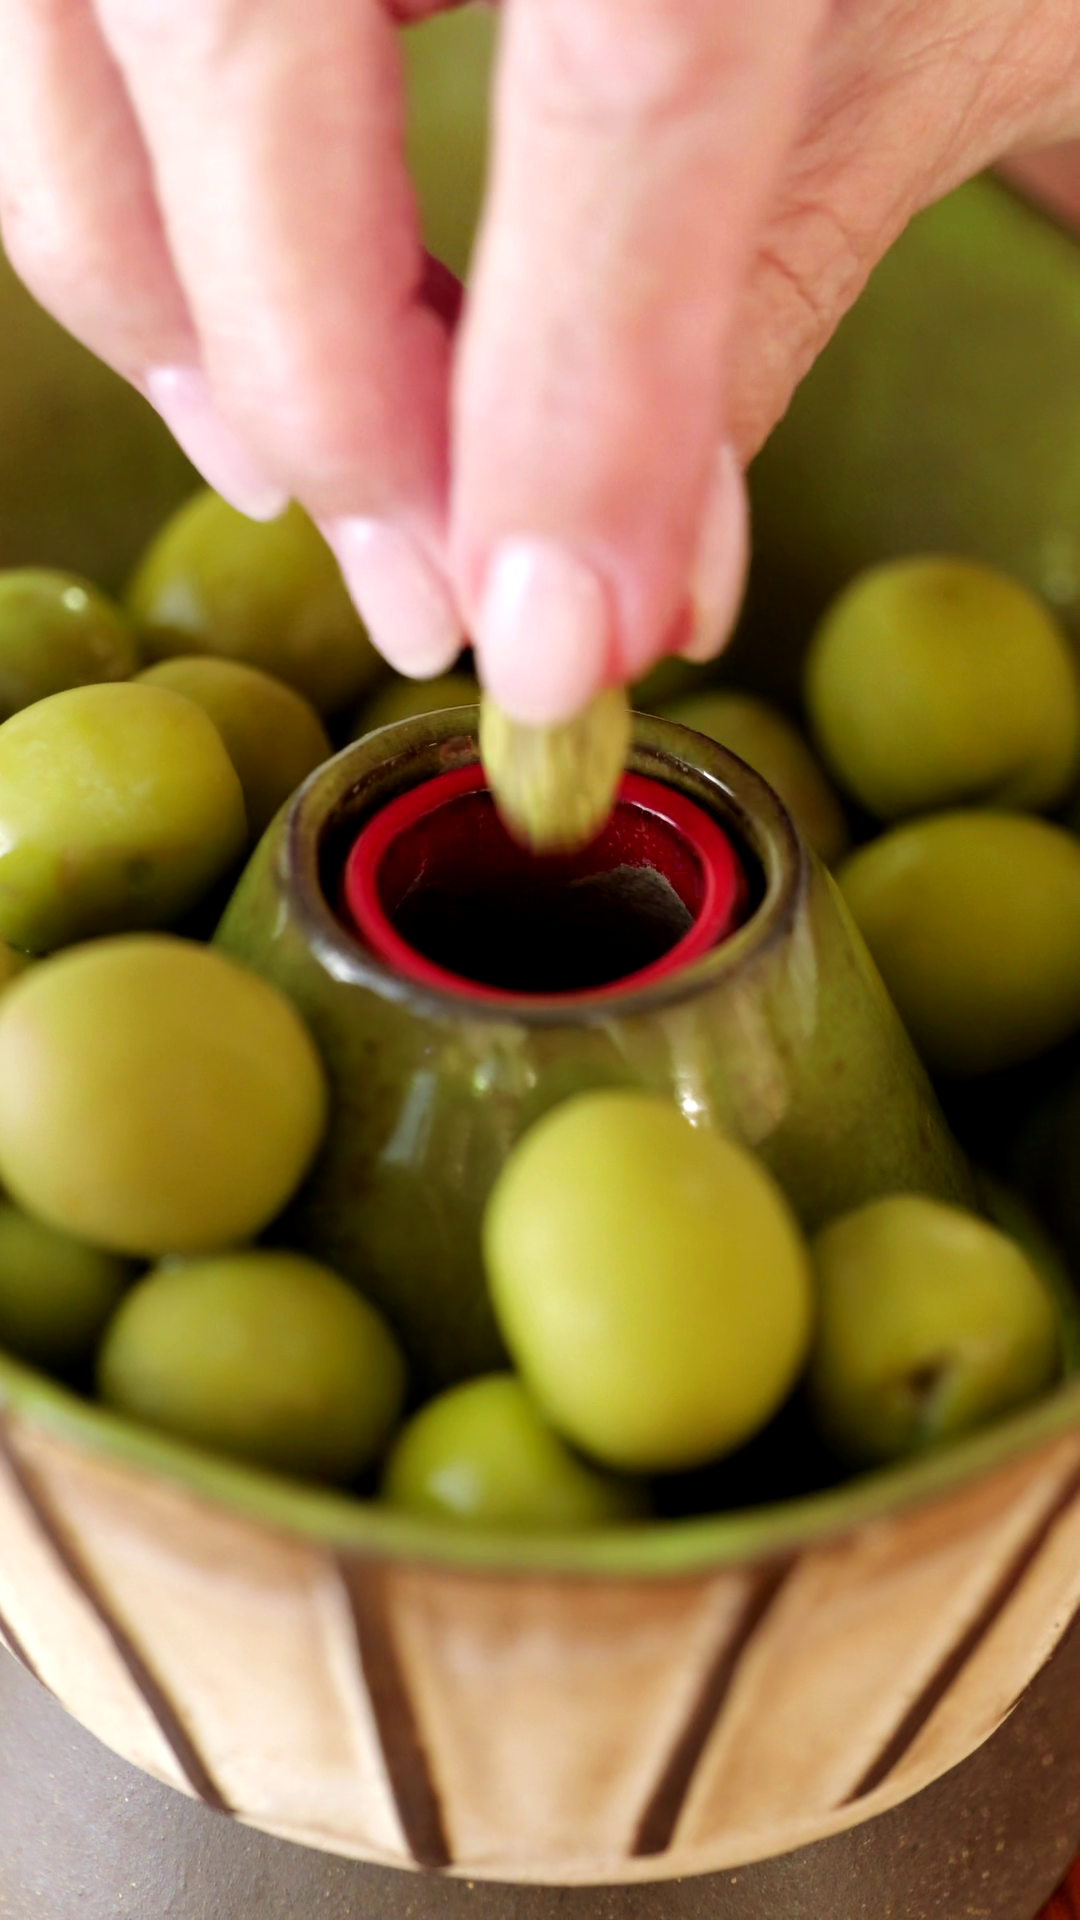 Image 1 of 9
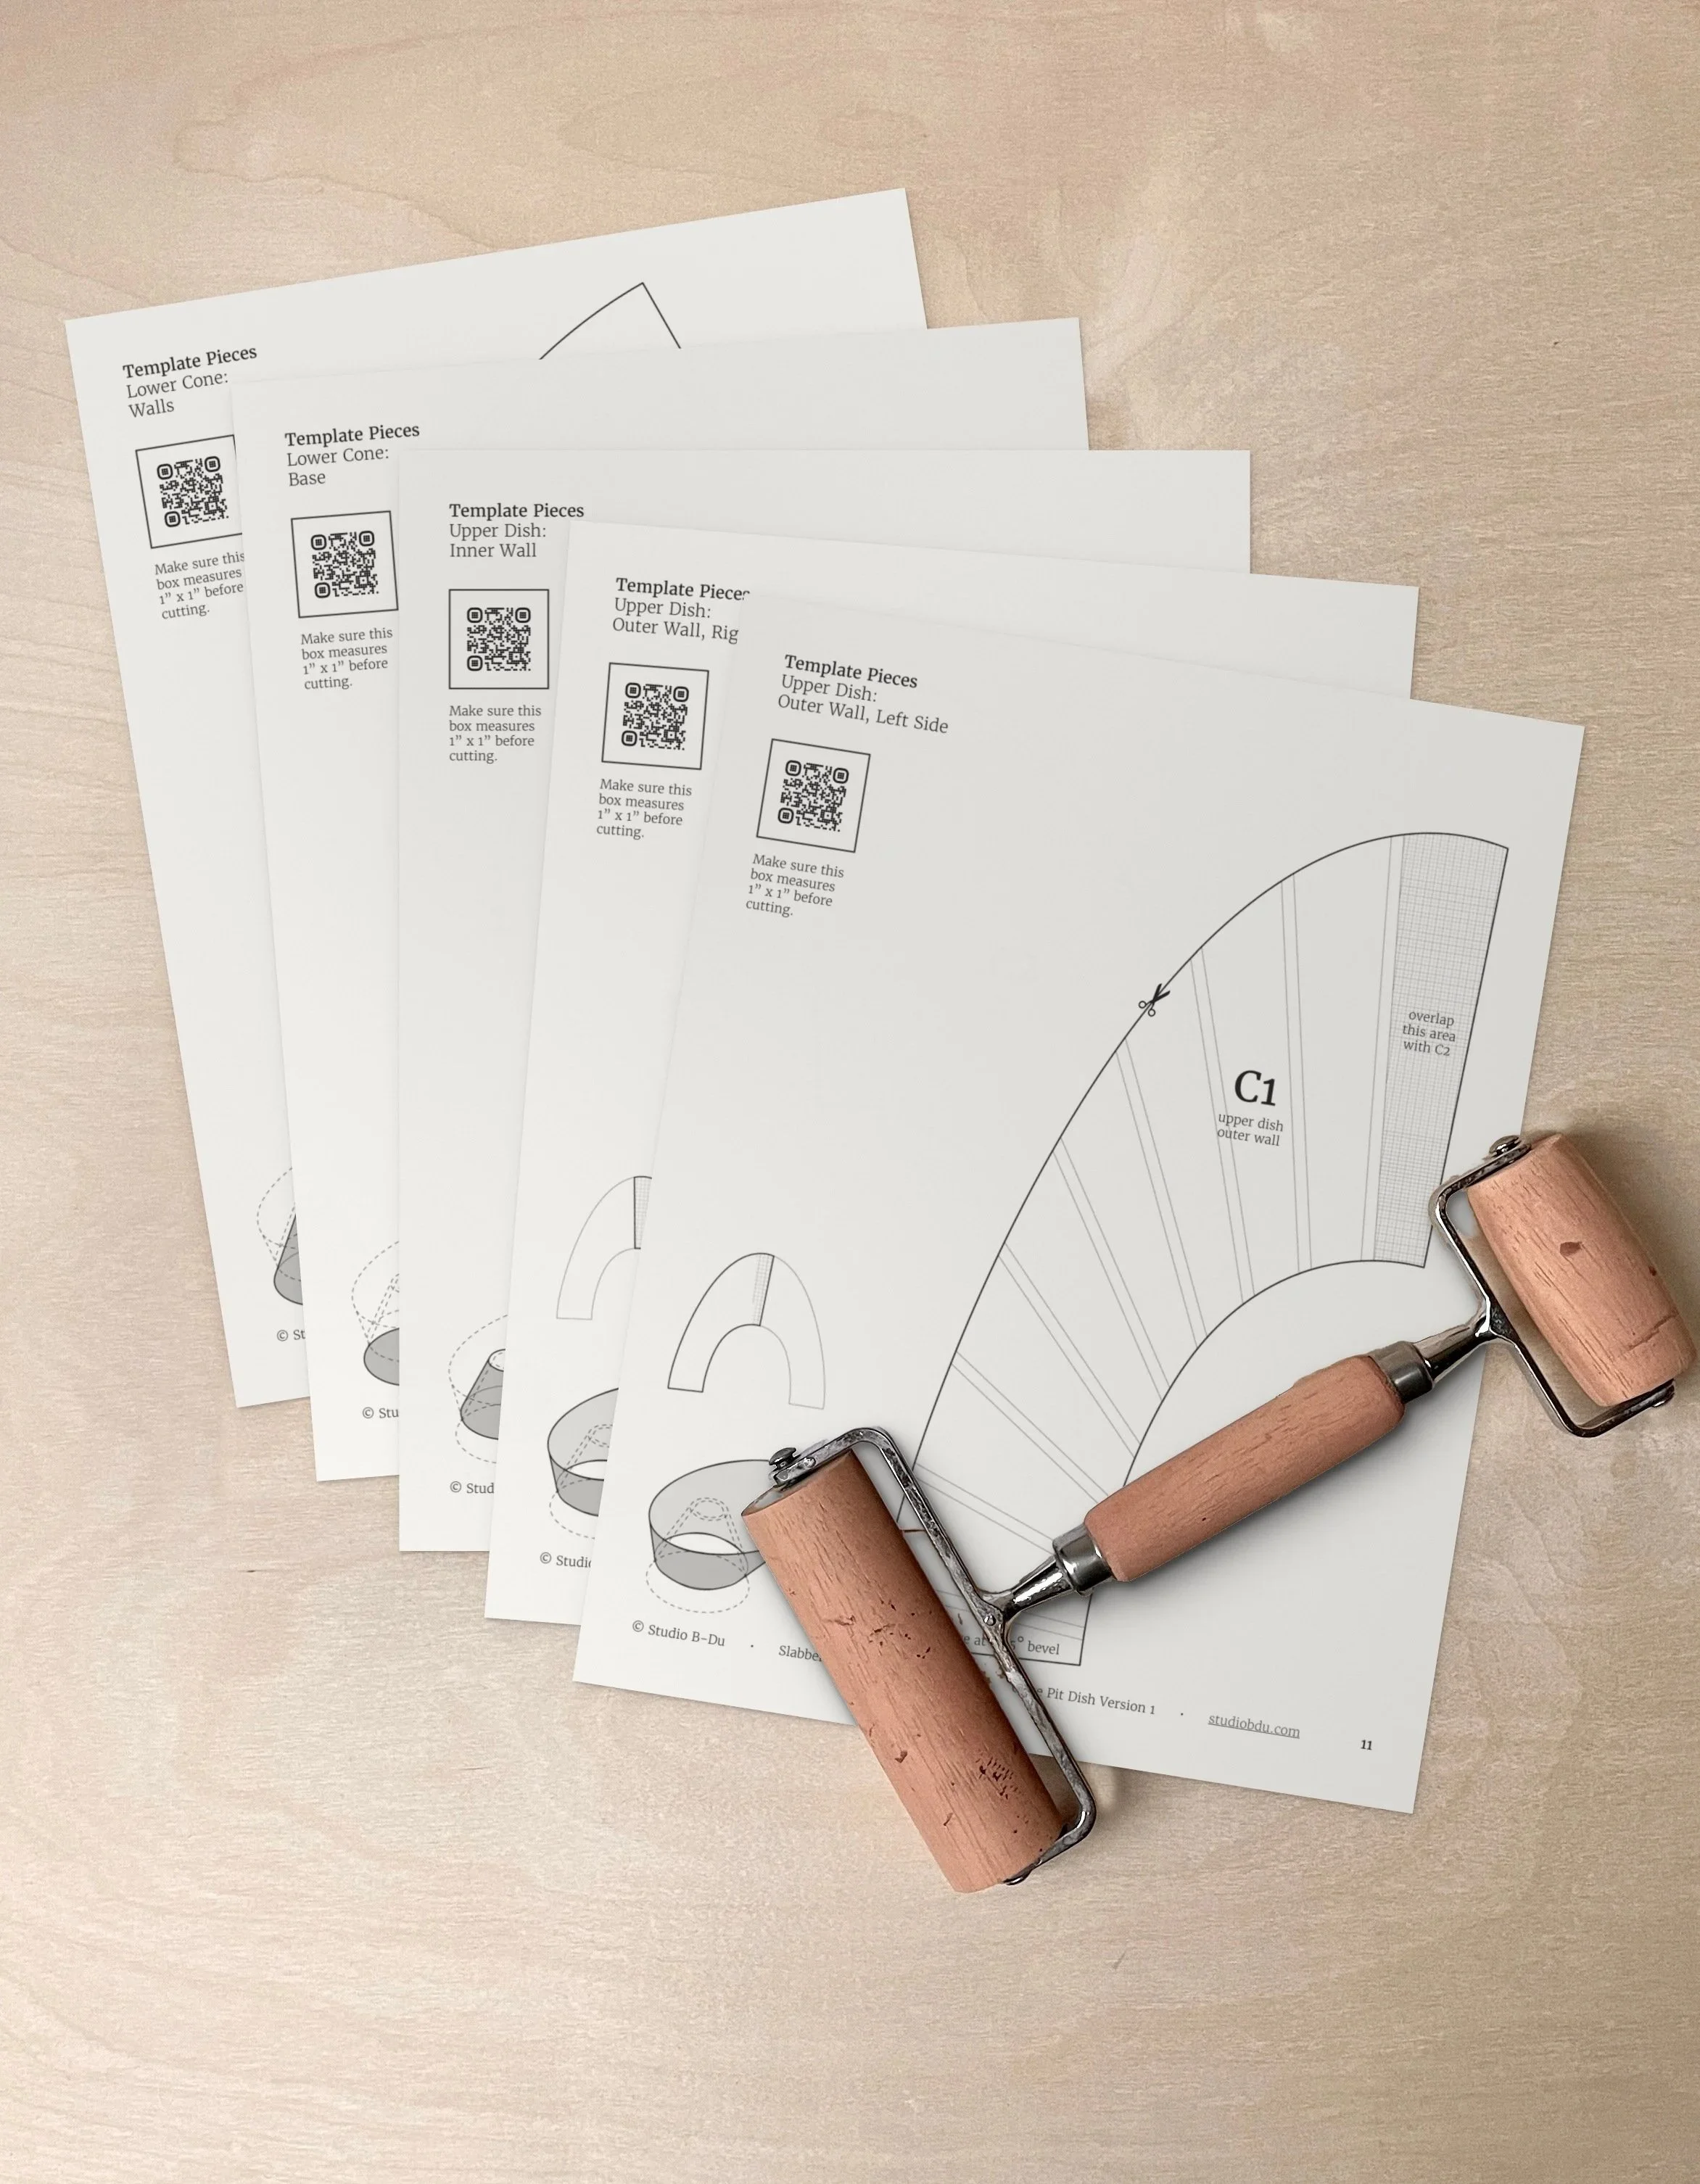 Image 2 of 9
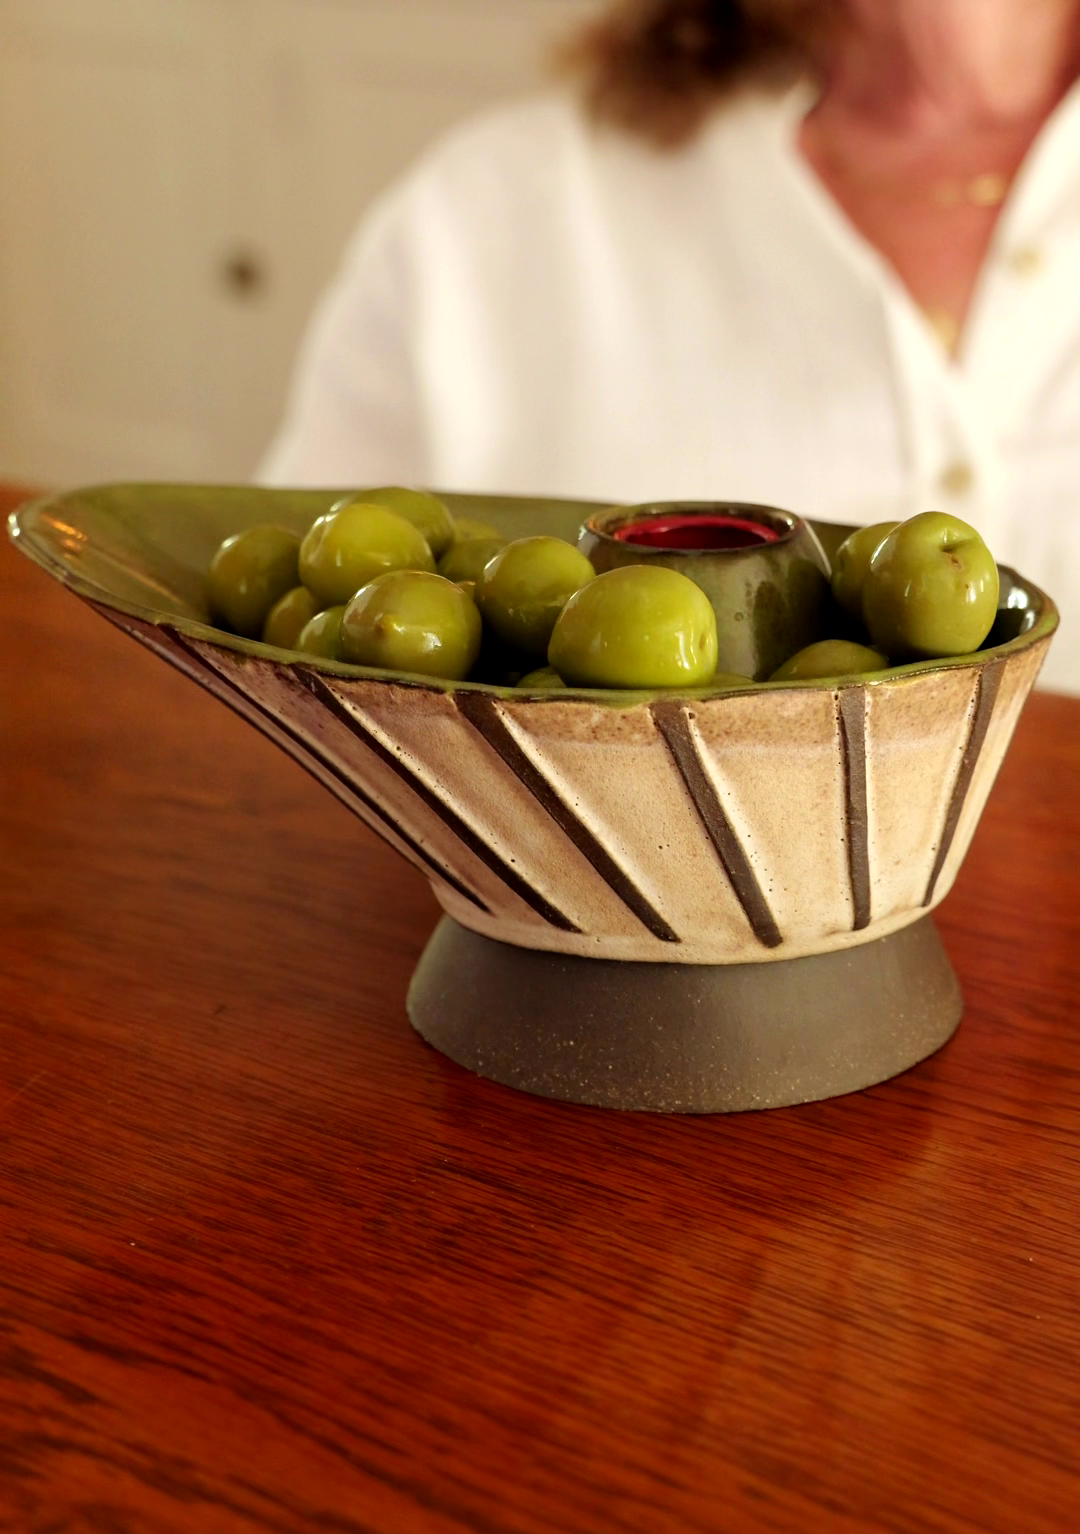 Image 3 of 9
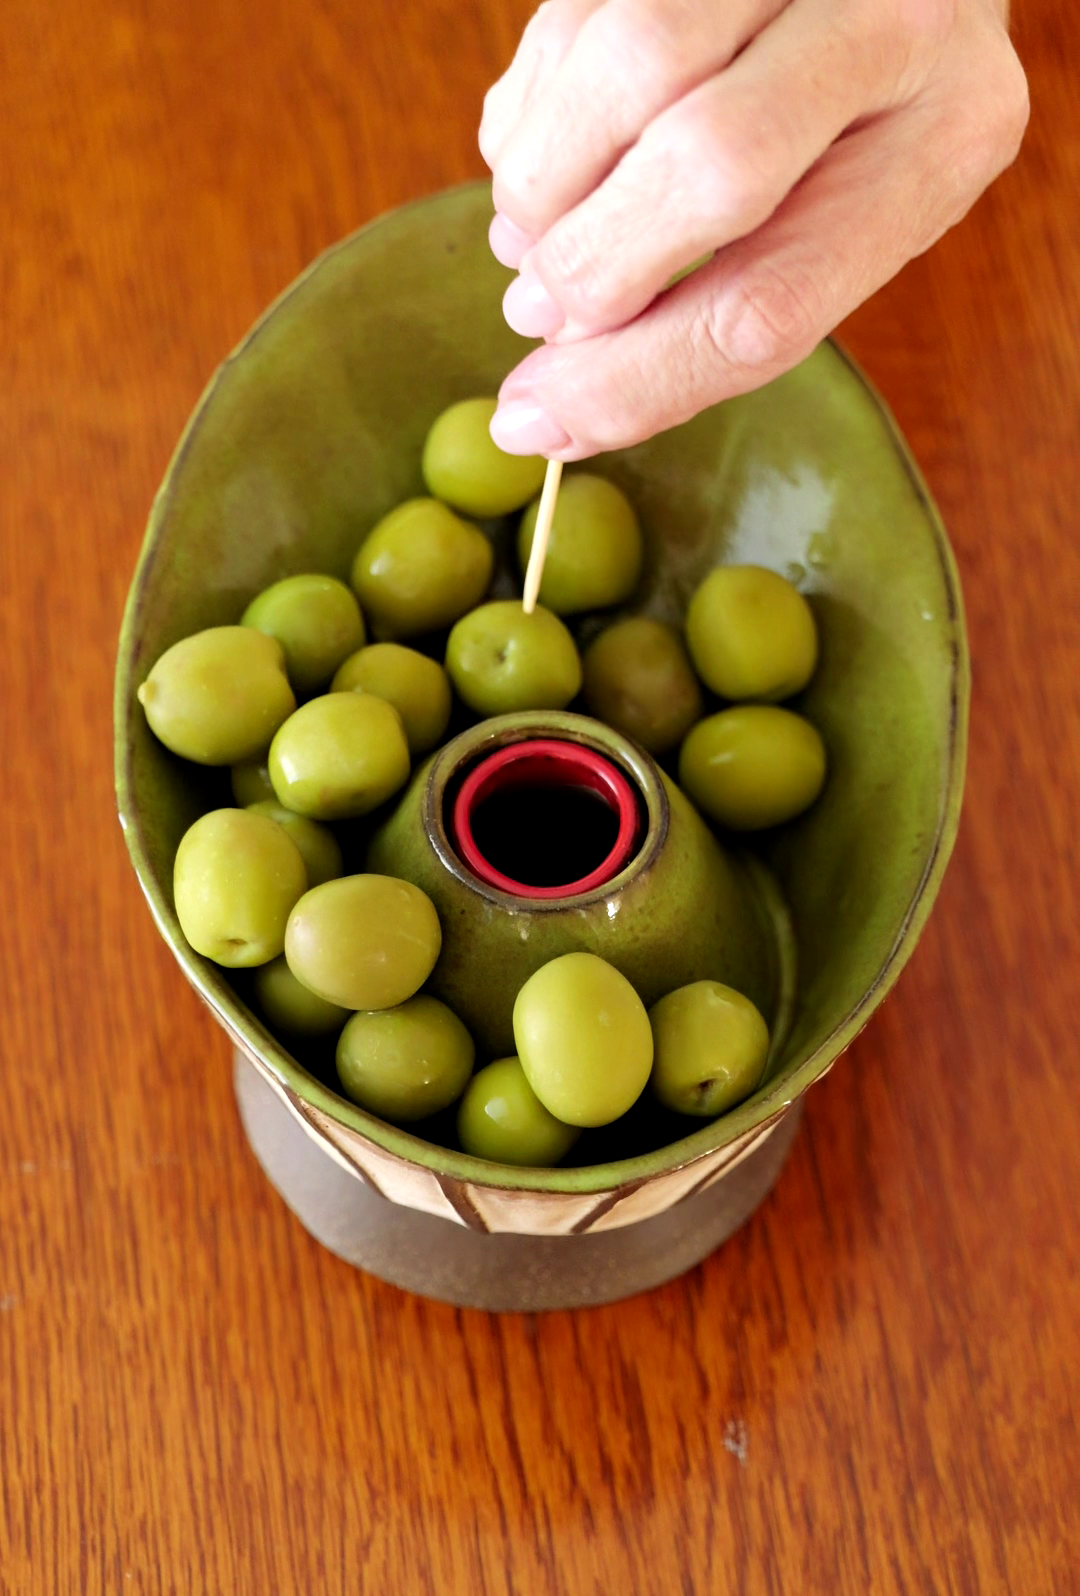 Image 4 of 9
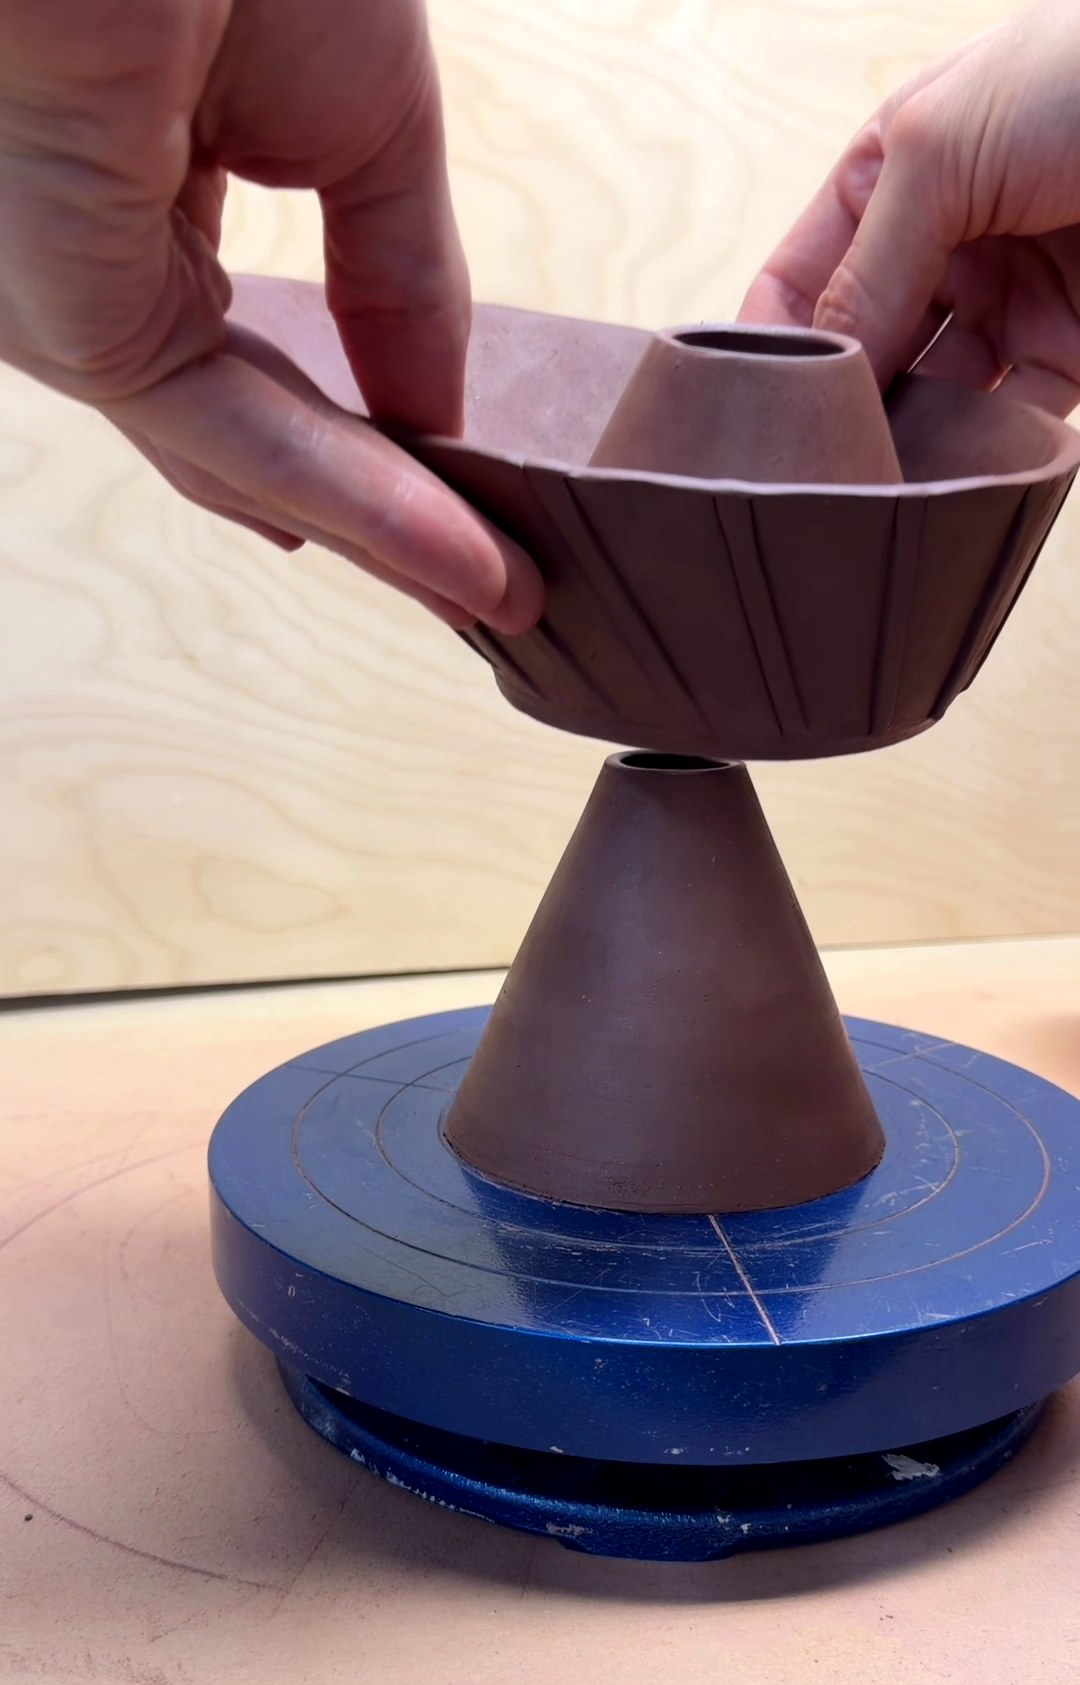 Image 5 of 9
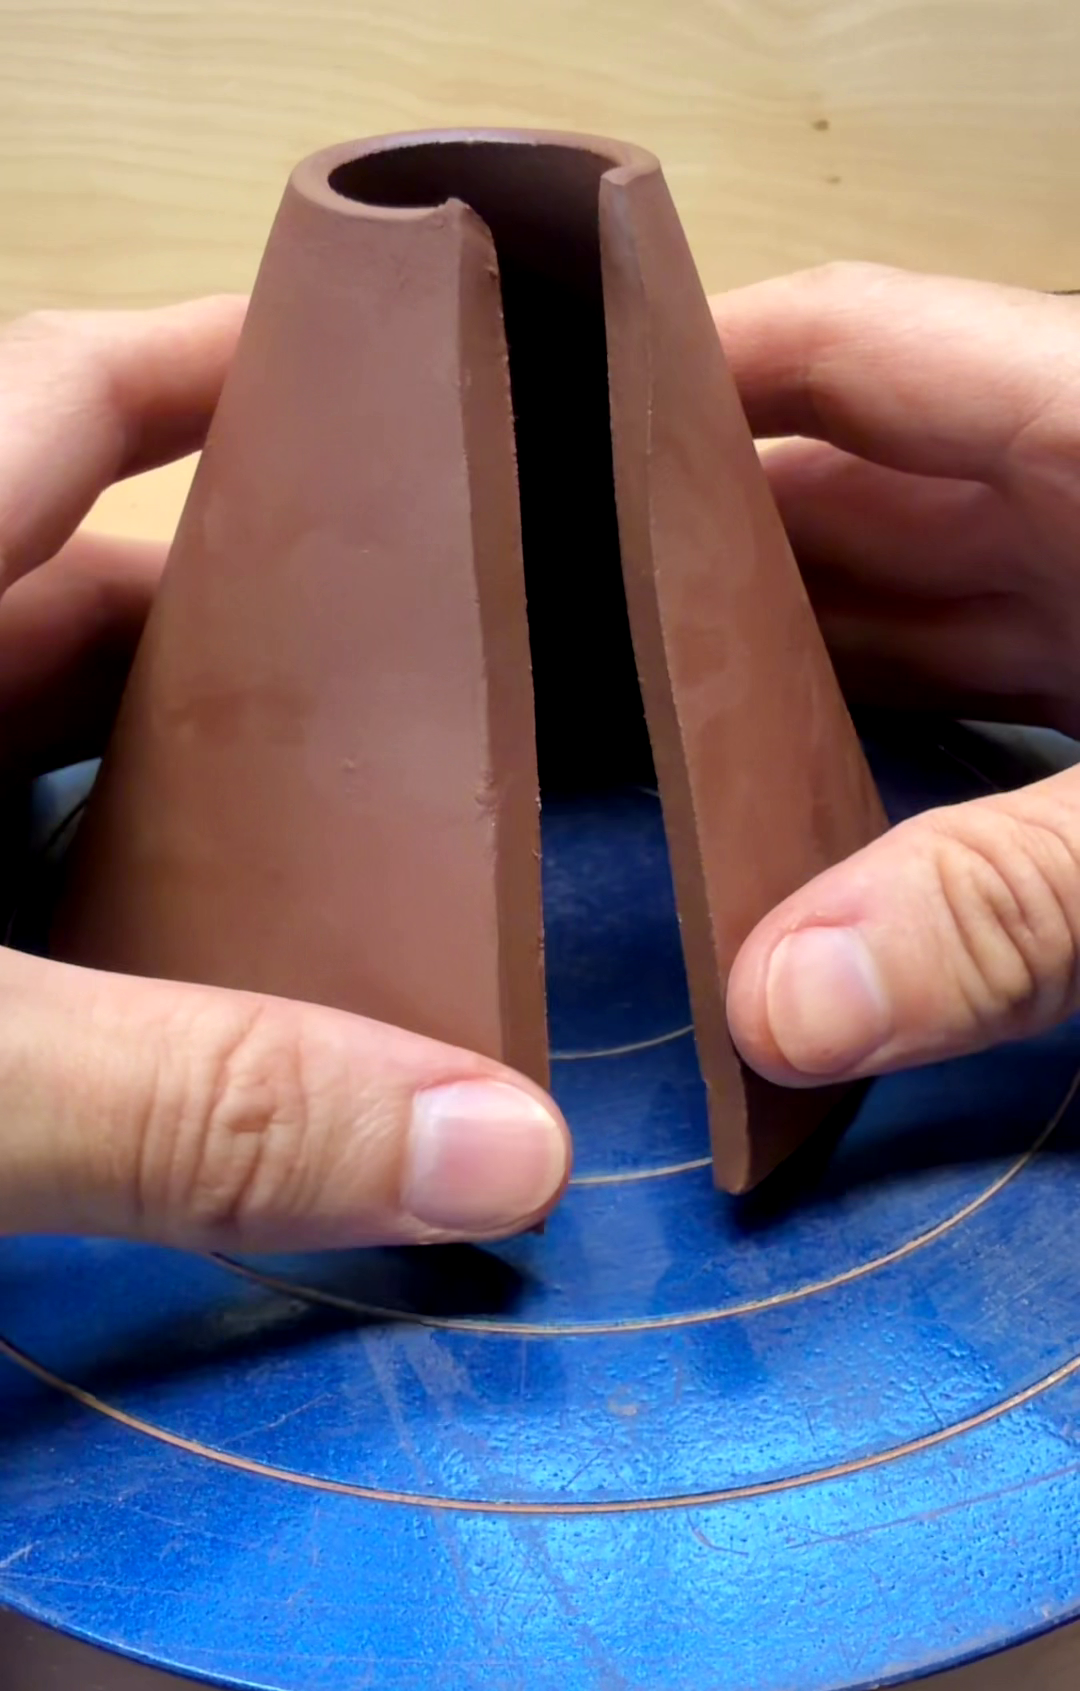 Image 6 of 9
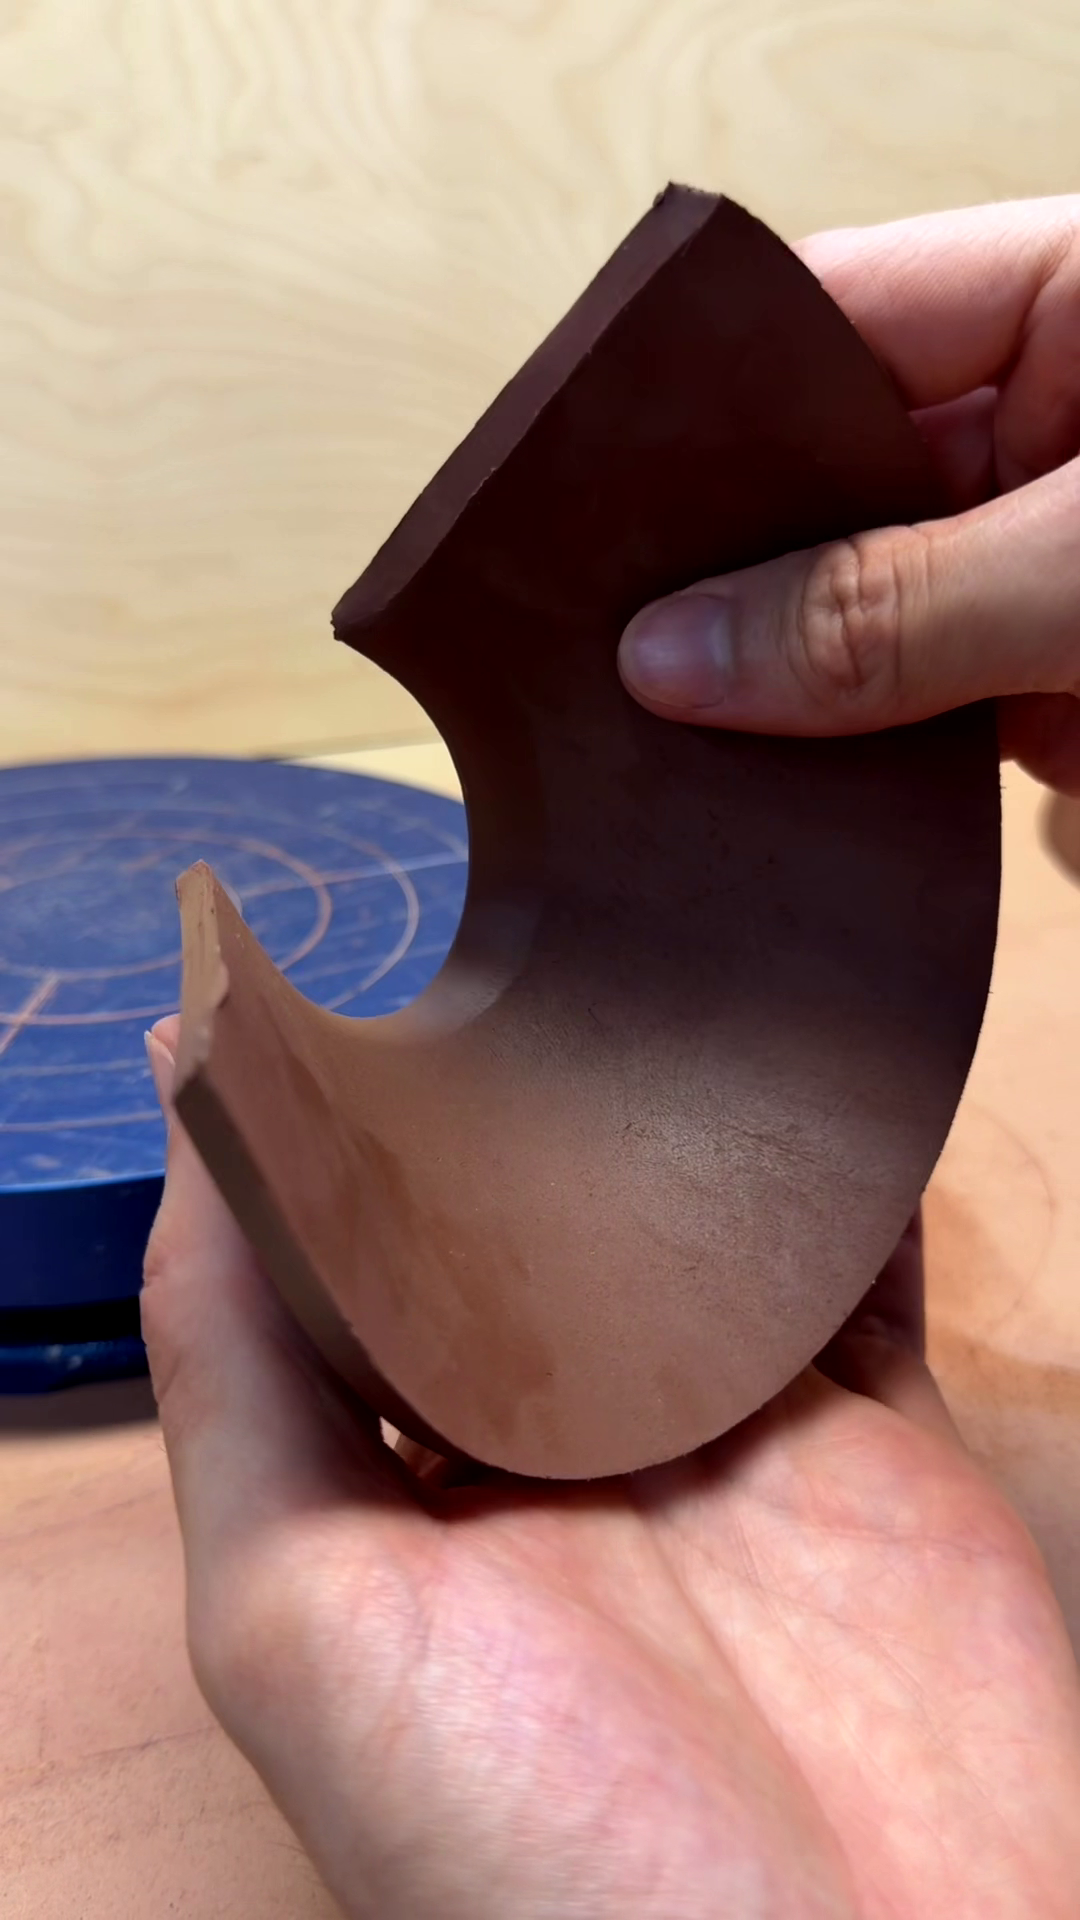 Image 7 of 9
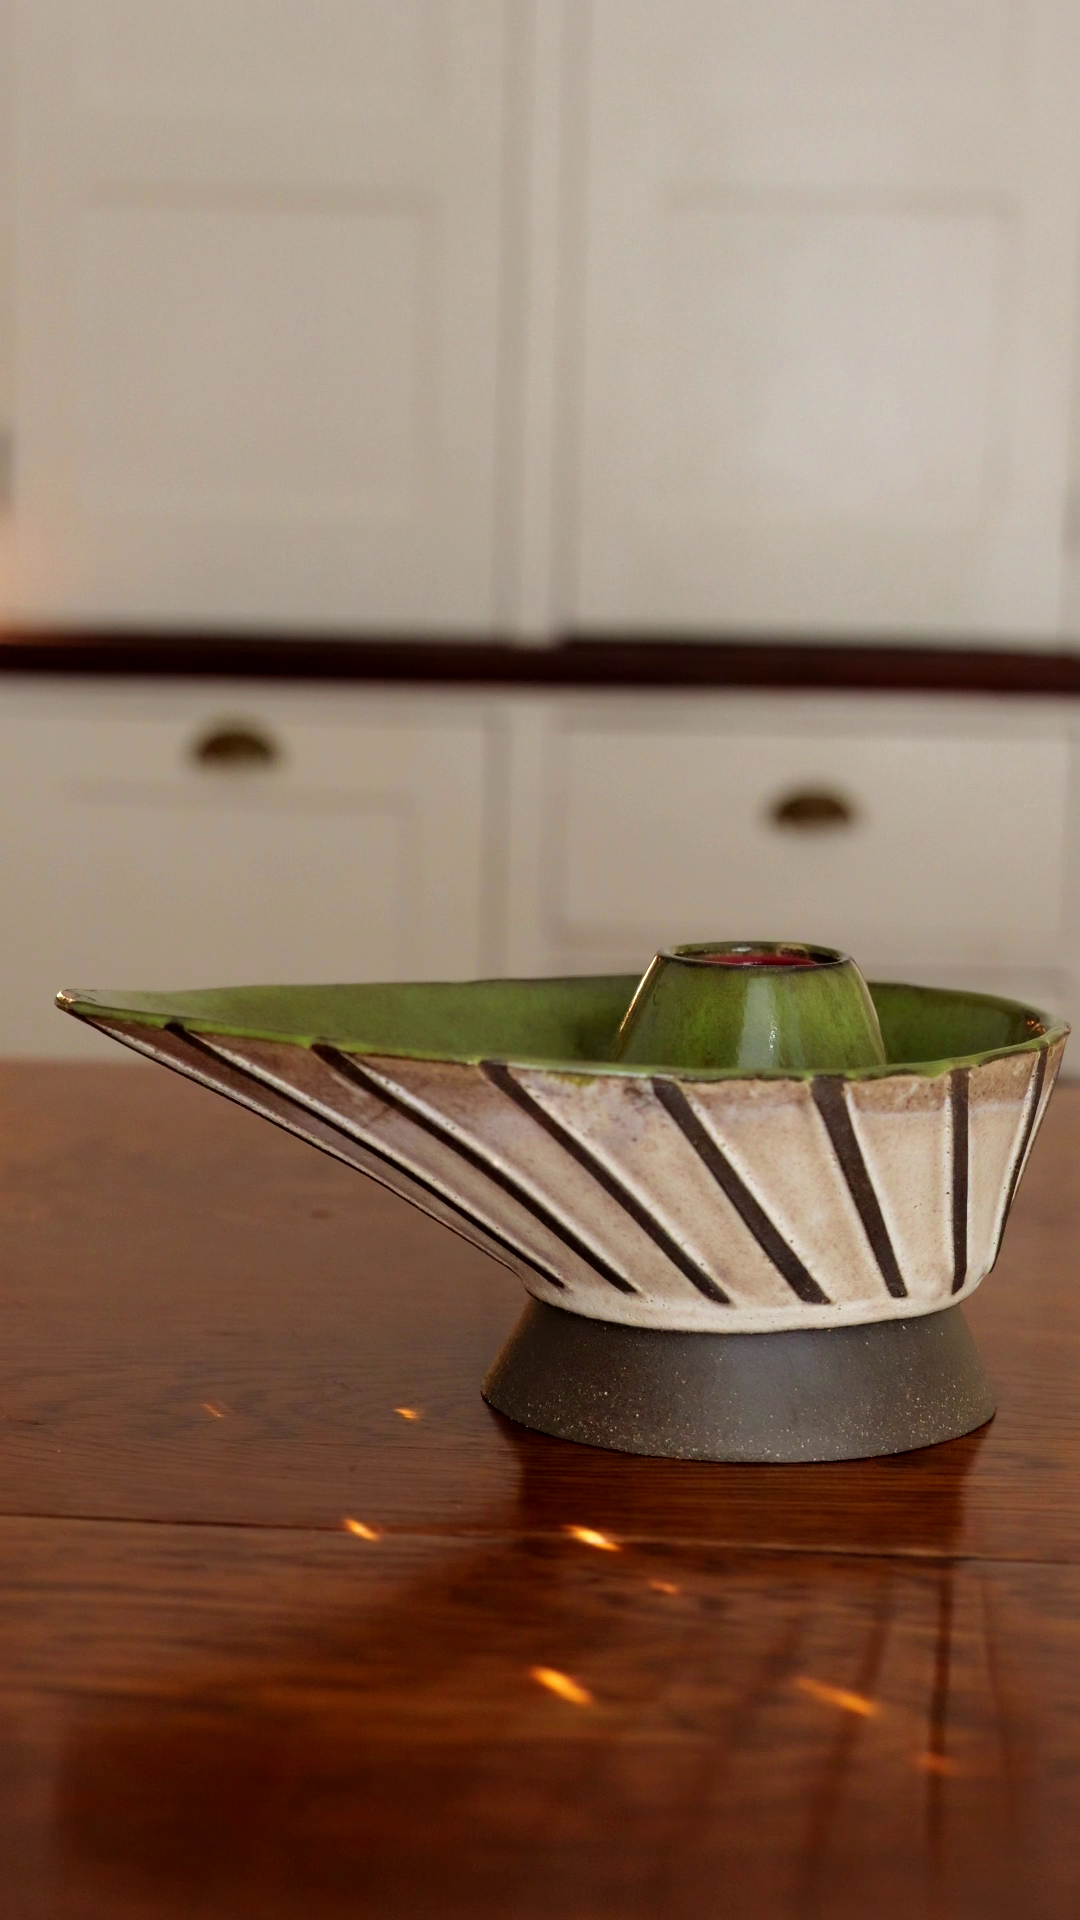 Image 8 of 9
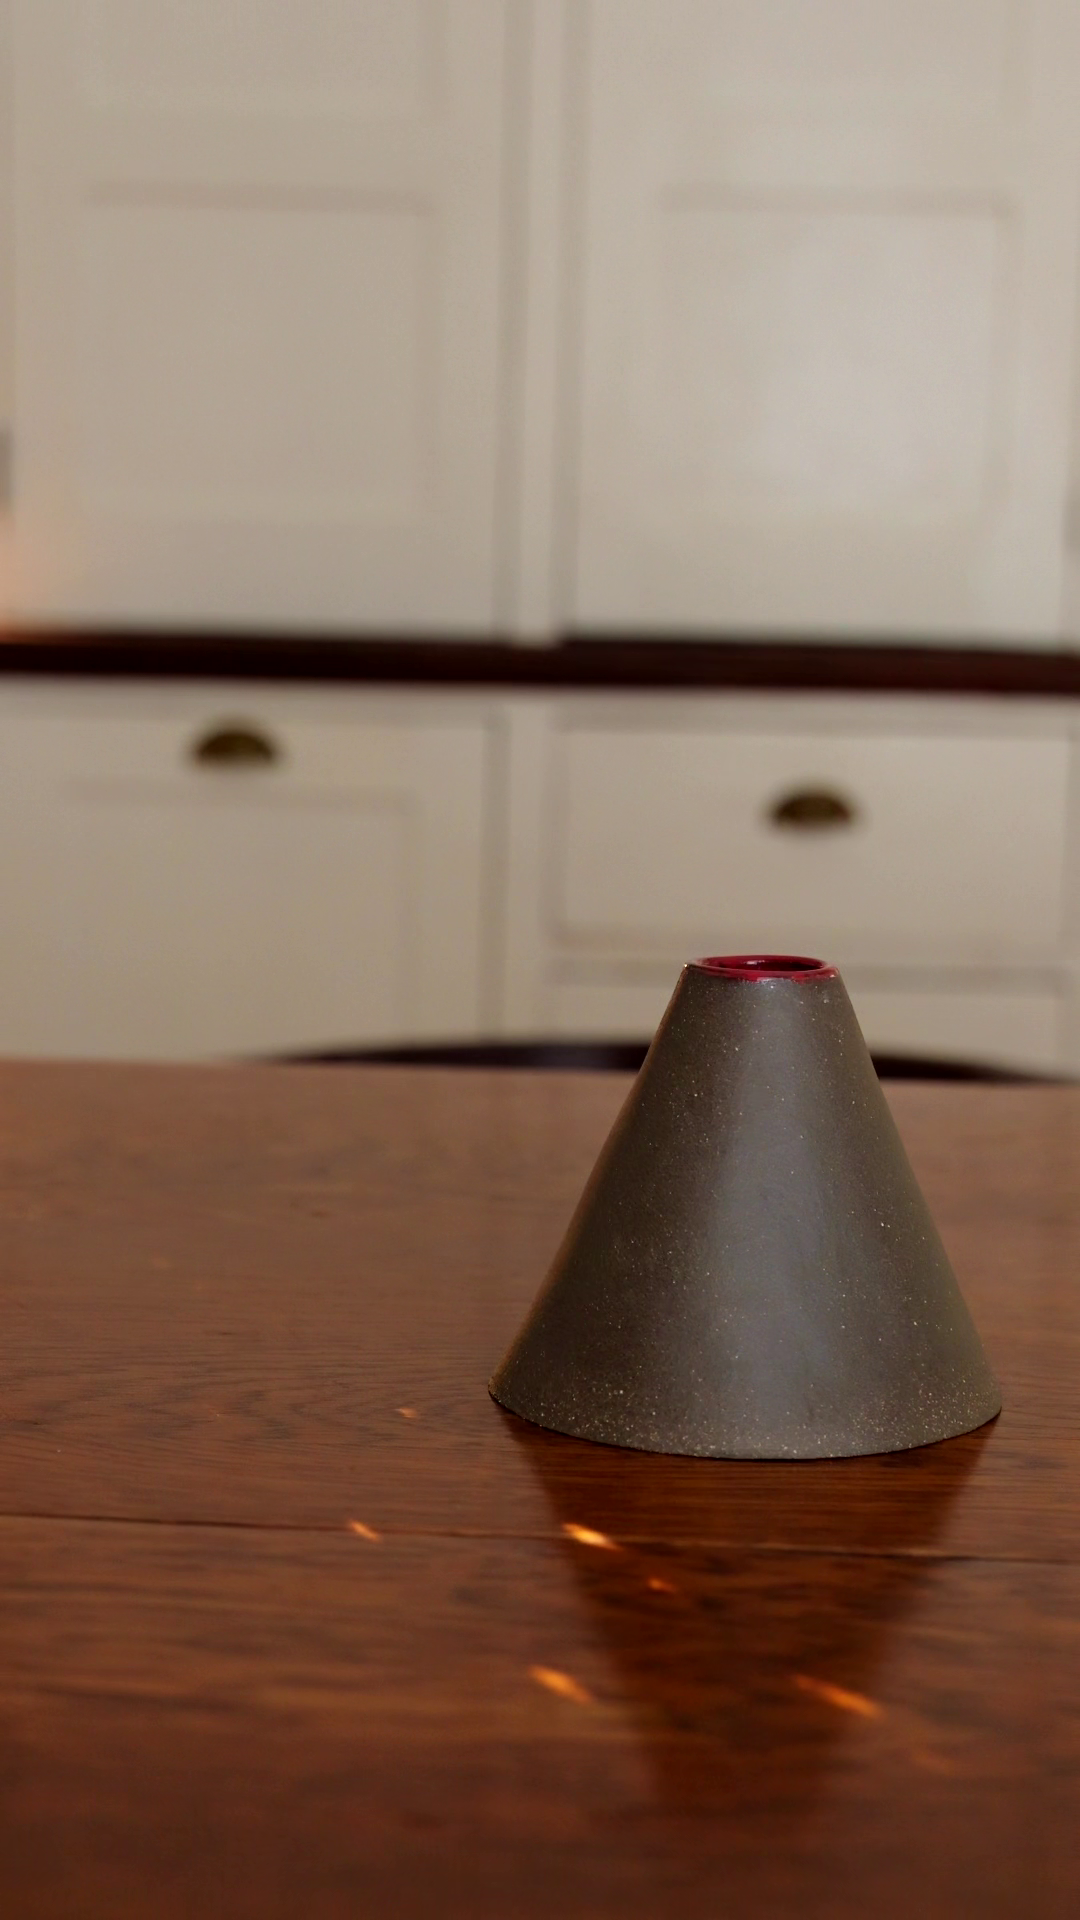 Image 9 of 9


